There are no products in the cart
Oct 13, 2025
Post by Alice Bonita
For those seeking a vibrant, affordable, and versatile protective hairstyle, quick weaves offer an excellent solution. This expert guide dives into how long does a quick weave last, alongside everything you need to know about this popular style. From understanding what a quick weave entails to mastering its installation, exploring its pros and cons, and comparing it to sew-ins, this article provides comprehensive insights. Let’s explore the world of quick weaves and uncover expert advice to elevate your hair game.

How Long Does A Quick Weave Last?
A quick weave is a popular protective hairstyle that offers a fast, affordable way to achieve a stunning, versatile look without committing to long-term hair extensions. This technique involves bonding hair extensions, typically synthetic or human hair, to a protective cap or directly onto the natural hair using specialized glue. Unlike traditional sew-in weaves, which require braiding the natural hair and sewing extensions into the braids, quick weaves streamline the process, making it a go-to choice for those seeking a low-maintenance yet glamorous style. The method is particularly favored by individuals with natural hair who want to protect their strands while experimenting with different lengths, textures, or colors.
To create a stunning quick weave, gather these essential items before starting the installation process. Each plays a critical role in ensuring your weave looks great and lasts as long as possible.

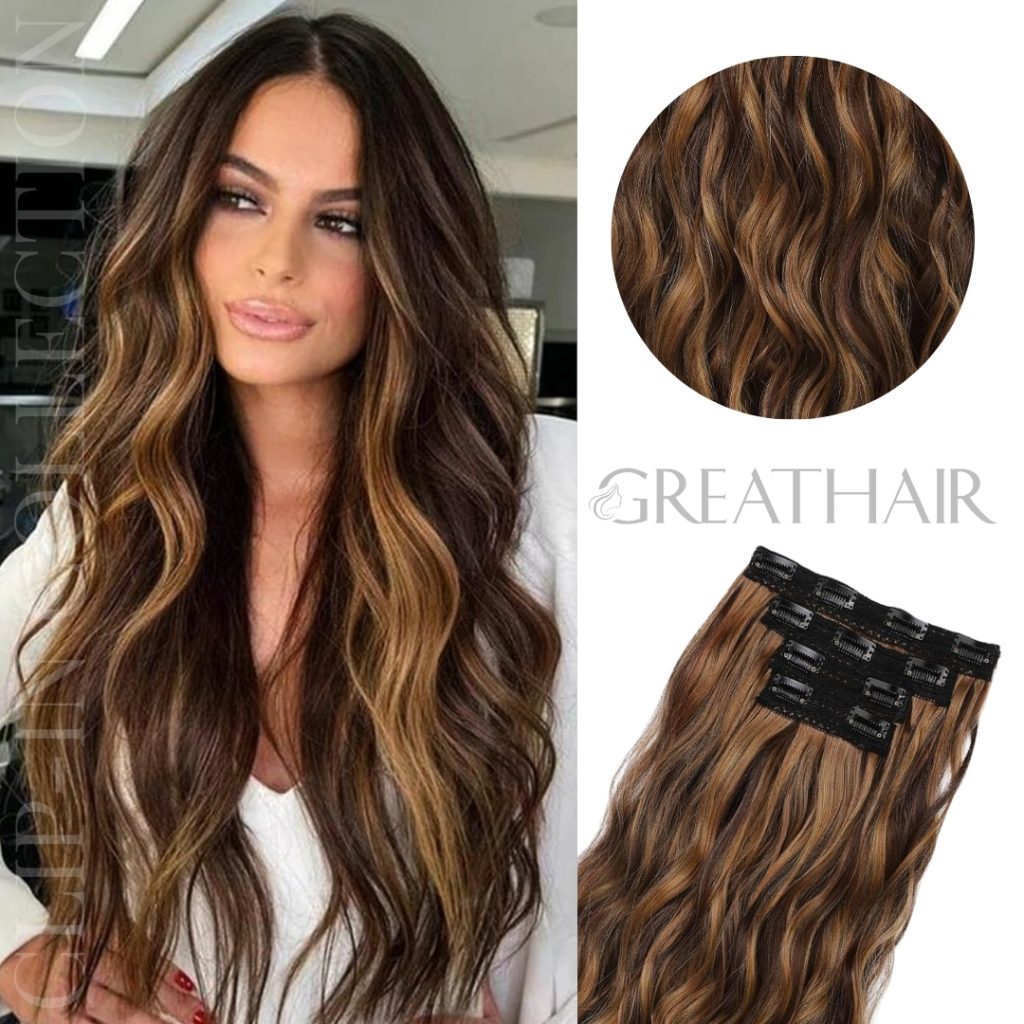
Chocolate Brown with Golden Highlights Wavy Clip-In Hair Extensions
Begin by washing and conditioning your hair thoroughly to remove any dirt, oils, or product buildup. This creates a clean foundation for the weave. Blow-dry your hair completely to eliminate moisture, as damp hair can cause slippage or mildew under the wig cap. Decide if you want to leave out a section of your natural hair, such as a side or center part, for blending with the extensions. For the remaining hair, apply a molding gel to flatten it against your scalp or braid it into tight, neat cornrows close to the scalp. Cornrows provide a secure, flat base, and the number depends on how much hair you’re leaving out and the desired fullness of the weave.
Place a wig cap over your braided or gelled hair to protect your natural strands from the bonding glue. Stretch the cap to cover all your hair, ensuring a snug but comfortable fit. For added security, consider using two wig caps layered over each other. To prevent glue from seeping through and sticking to your hair, apply a liquid glue protector to your hair or the inside of the wig cap before securing it. If you’ve left out a section of natural hair, mark that area on the wig cap with a washable marker or chalk to avoid placing extensions too close to it.
If you used molding gel or a glue protector, blow-dry or air-dry your hair and wig cap thoroughly. Moisture can weaken the glue’s bond, so confirming everything is completely dry is essential for a durable weave.
Lay the hair extensions on a flat surface and measure them against your head to determine where to cut. Trim the extensions to your desired length, keeping your final style in mind. Starting at the back of your head, apply a thin layer of weave bonding glue to the weft of the first extension. Carefully press the weft onto the wig cap, holding it firmly for a few seconds to ensure it adheres. Work slowly to align the extension properly.
Continue applying extensions, moving upward toward the crown, and allow each section to dry for a few minutes before adding the next to prevent shifting. As you approach the marked leave-out area, avoid gluing extensions too close to it. Once you reach the leave-out, carefully cut away the wig cap around that section with scissors to expose your natural hair for blending.
With all extensions in place, comb through the hair to detangle and create a uniform texture. Trim the extensions further if needed to achieve your desired shape or length. Style the hair by flat-ironing, curling, or shaping it to match your vision, blending the leave-out section with the extensions for a seamless look. If you didn’t leave out natural hair, style the weave to cover the wig cap’s edges for a polished appearance. Allow the glue to dry completely, which typically takes 15 to 20 minutes, to ensure the extensions remain secure.
Typically, a quick weave remains intact for about four to five weeks, depending on factors like maintenance, hair type, and lifestyle. The bonding glue used to attach the extensions to the wig cap is strong but gradually weakens with regular wear, washing, and exposure to environmental elements. One clear sign that it’s time to remove the weave is shedding, where you notice loose strands or tracks detaching from the cap.
This indicates the glue has lost its hold, and continuing to wear the weave may lead to an unkempt appearance or potential damage to your natural hair. However, knowing how to remove a quick weave properly is essential to prevent damage to your natural hair. The removal process typically involves applying a glue remover or oil-based product to the bonded areas to gently loosen the adhesive, allowing the extensions and cap to be lifted off with minimal tension or breakage.

The Ultimate Guide to Vietnamese Hair Grades
A quick weave is a fast, glue-based technique that delivers a new look in hours. How long does a quick weave take? Typically, it only takes 1 to 2 hours, making it a go-to option for those who want a stylish transformation without spending an entire day at the salon. Start by washing and drying your hair thoroughly.
Braid it into cornrows or use molding gel to flatten it, leaving out a part if desired. Cover your hair with a protective wig cap, optionally using two caps or a glue protector for safety. Measure and cut extensions, then glue them onto the cap from the back upward, blending any leave-out hair. Style the extensions, let the glue dry, and trim excess cap for a natural finish. This method is quick, affordable, and great for temporary styles.
A sew-in, however, uses thread for a secure, durable result. How long does a sew in last? On average, sew-ins can last 6 to 8 weeks with proper maintenance, making them a longer-term solution. After cleaning and drying your hair, braid it into cornrows. Extensions are sewn onto the braids with a needle and thread, customized to your style, like a full sew-in or with a closure. The process takes longer, often three to five hours, and costs more due to the skill required. Sew-ins allow easier scalp maintenance and are ideal for protective styling.
When comparing quick weave vs sew in, the installation process highlights key differences in time and technique. Quick weaves are ideal for those seeking a rapid transformation, making them perfect for special occasions or temporary style changes. The glue-based approach allows for a straightforward application that can be done at home or in a salon—often in under two hours—answering the common question: how long does a quick weave take? This makes it appealing to those with busy schedules or budget constraints. However, the use of bonding glue requires careful application to avoid damage to the natural hair or scalp, and removal involves using a glue dissolver to gently lift the extensions.
For those wondering how to remove a quick weave, it’s essential to use proper glue-removal products and techniques to protect your natural hair. Sew-ins, on the other hand, demand a more meticulous installation, often necessitating a professional stylist to achieve optimal results. The absence of glue makes sew-ins a gentler option for natural hair, as there’s no risk of adhesive-related damage, but the tight braiding and sewing can cause tension if not done correctly.
How long does a sew in last? Typically, sew-ins can last 6 to 8 weeks with proper maintenance. Removal of a sew-in involves cutting the threads and gently unraveling the braids, which is generally less risky than glue removal but still requires care to avoid breakage.
Understanding how long does a quick weave last is key to enjoying this versatile protective style. With a lifespan of four to six weeks, quick weaves offer an affordable, quick, and stylish option for transforming your look while protecting your natural hair. Whether you’re choosing between a quick weave and a sew-in or learning the installation process, this guide equips you with expert tips to shine.
Ready to find your perfect quick weaves? Explore a wide range of styles and lengths at Great hair, where expert guidance and quality craftsmanship await.

Hair Extensions For Hair Loss Exploring The Art of Concealing
We Will Contact You Shortly